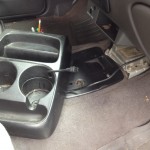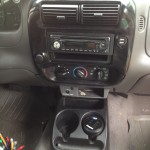
I bought an inverter from Energizer for my trip, but quickly realized I didn’t want the cable hanging out. Or maybe I was bored. Anyway, I ran the wires back through the cup-holder and into the back of the dash so as to clean up the wiring.
Parts:
Quick connectors (Radioshack) ~$2.50
Cigarette lighter auto module (Auto parts store) ~$8.50
Inverter ~$30
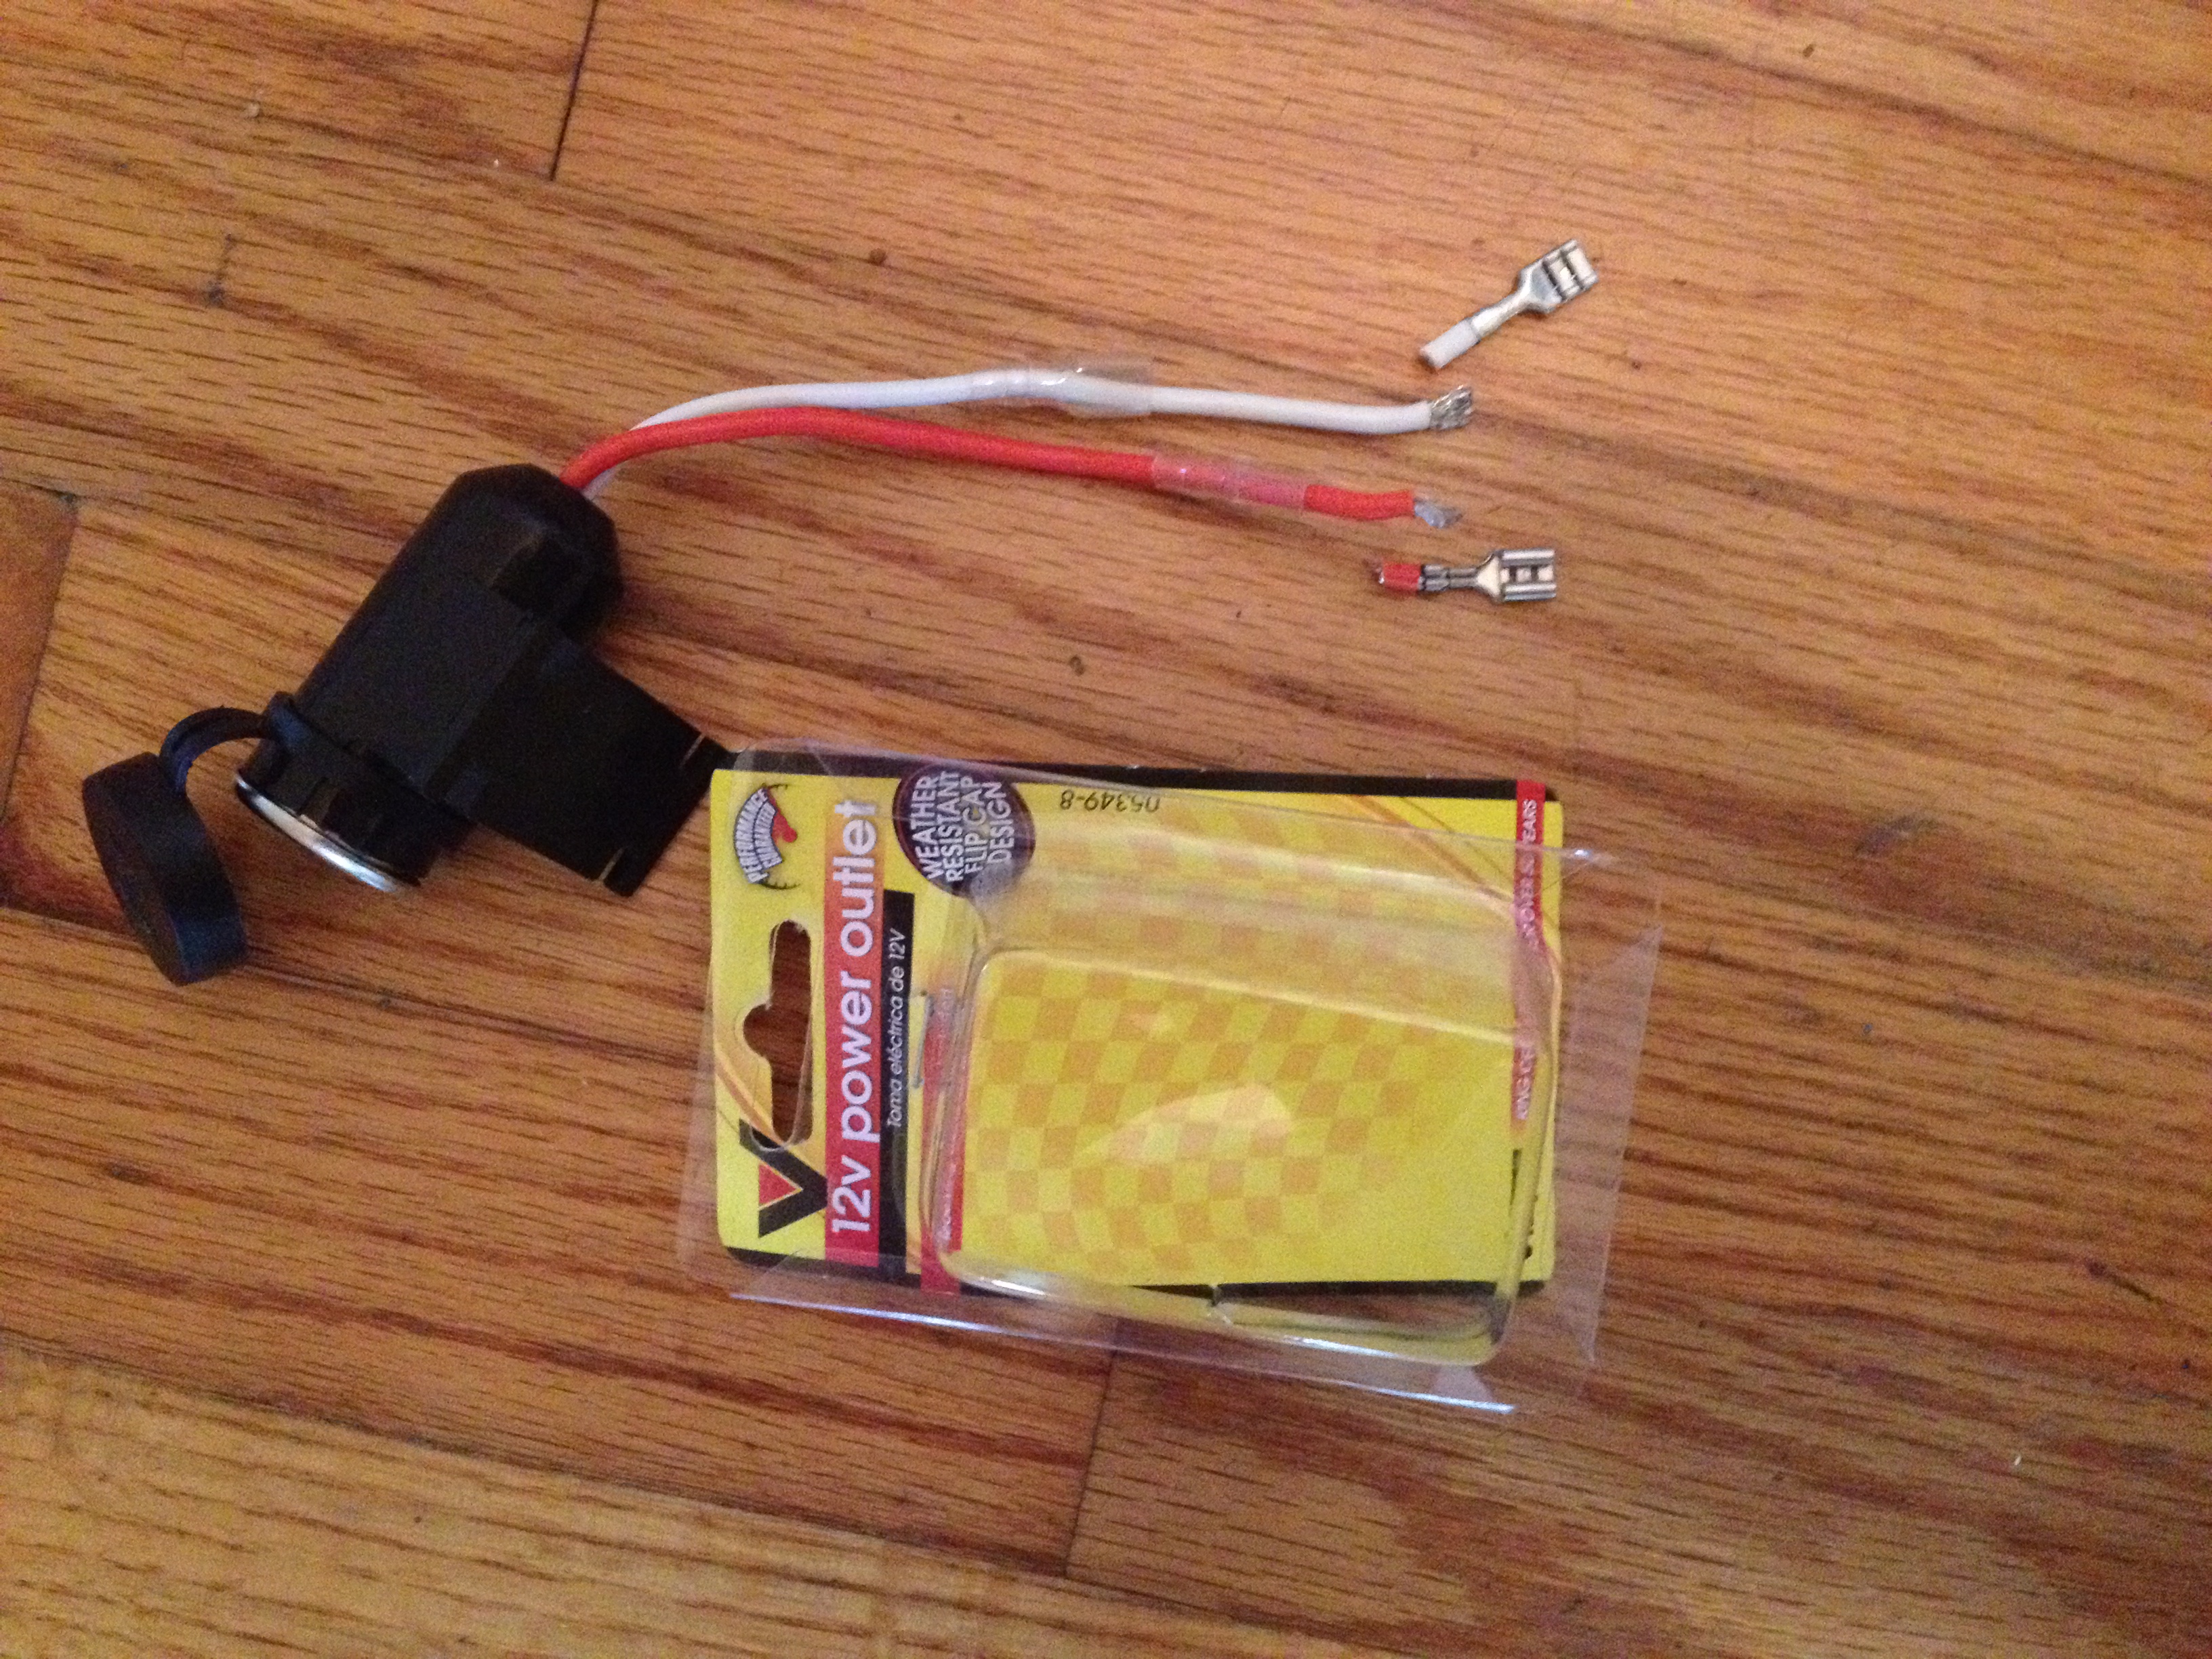
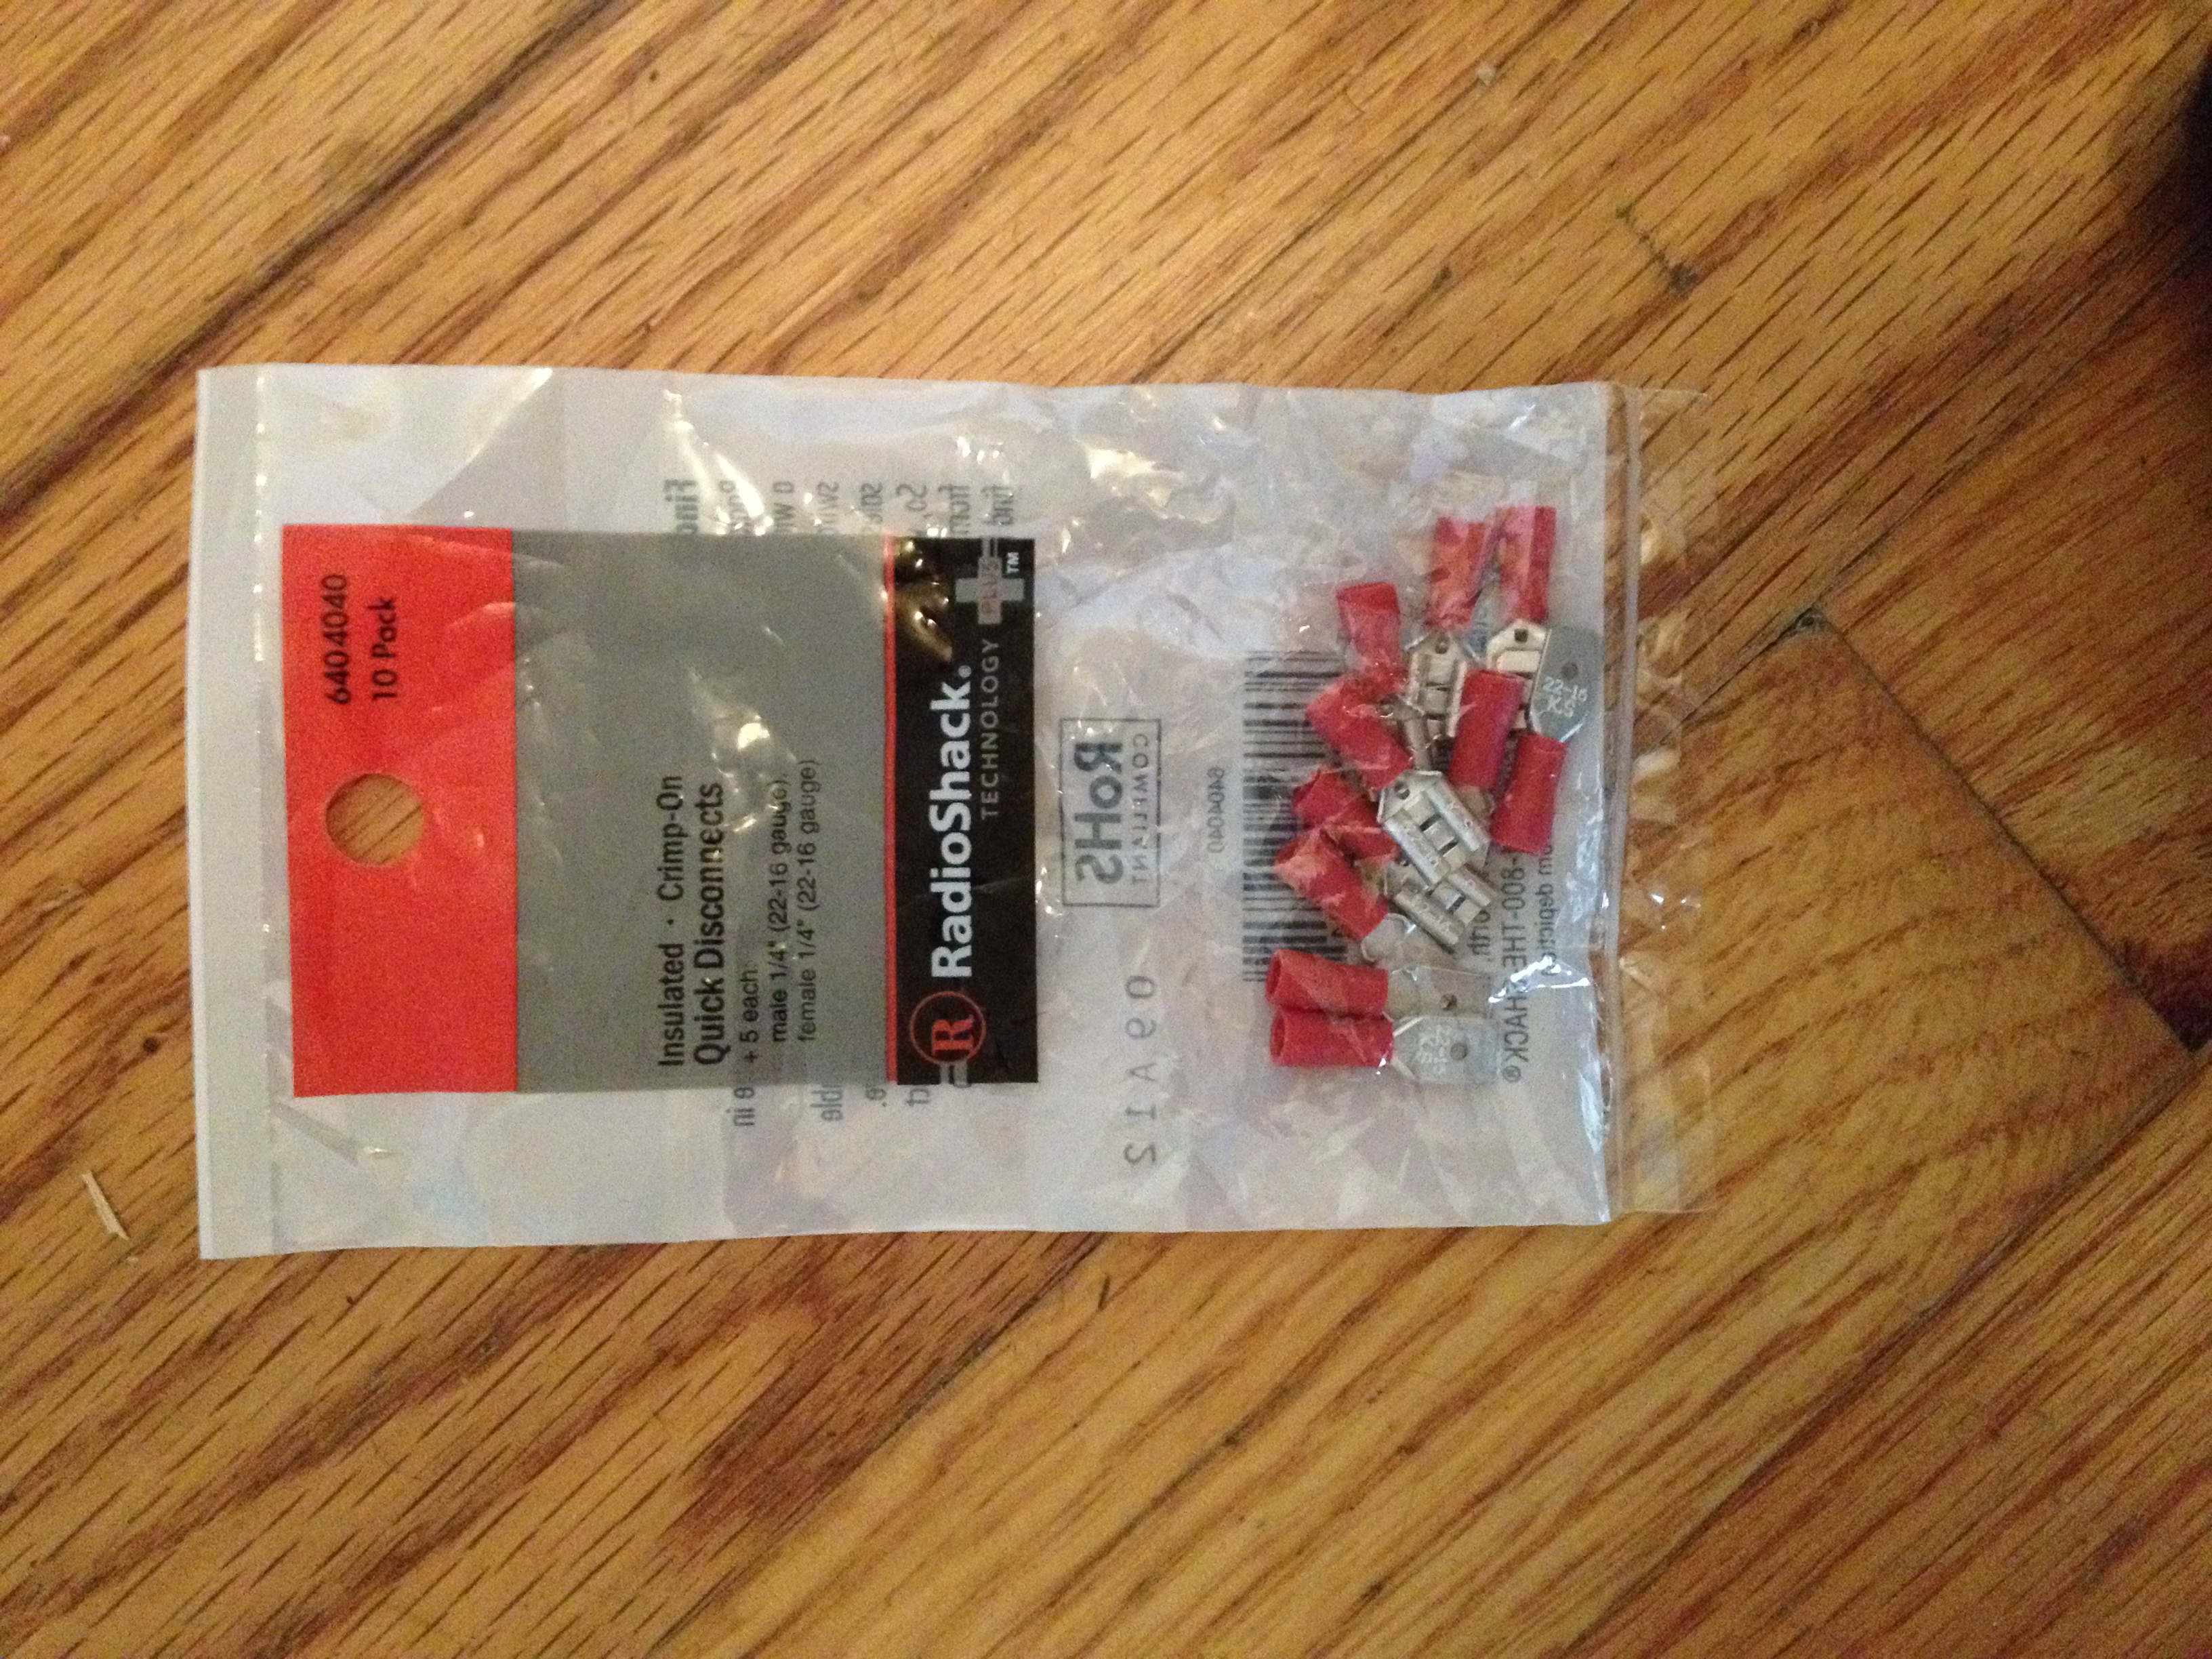
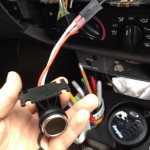
The first hiccup was that the Cigarette lighter module I bought had female quick connects on the end, and I needed male. I first tried cutting off the females, and flattening the wire strands with solder to ‘make’ a male connection, but that didn’t work, was too thick. I then tried cutting a male quick connect from an Al can and it fit well, but solder wouldn’t bond the wire to the Al. Apparently, soldering to Al is not as easy as I originally thought. So I gave up and drove over to Radioshack to buy quick connects. They crimped onto the aftermarket cigarette lighter module, and I further secured the joint with solder as there are max 180W to go through it at 12 volts (15 A), so I didn’t want any extra resistance in the circuit.
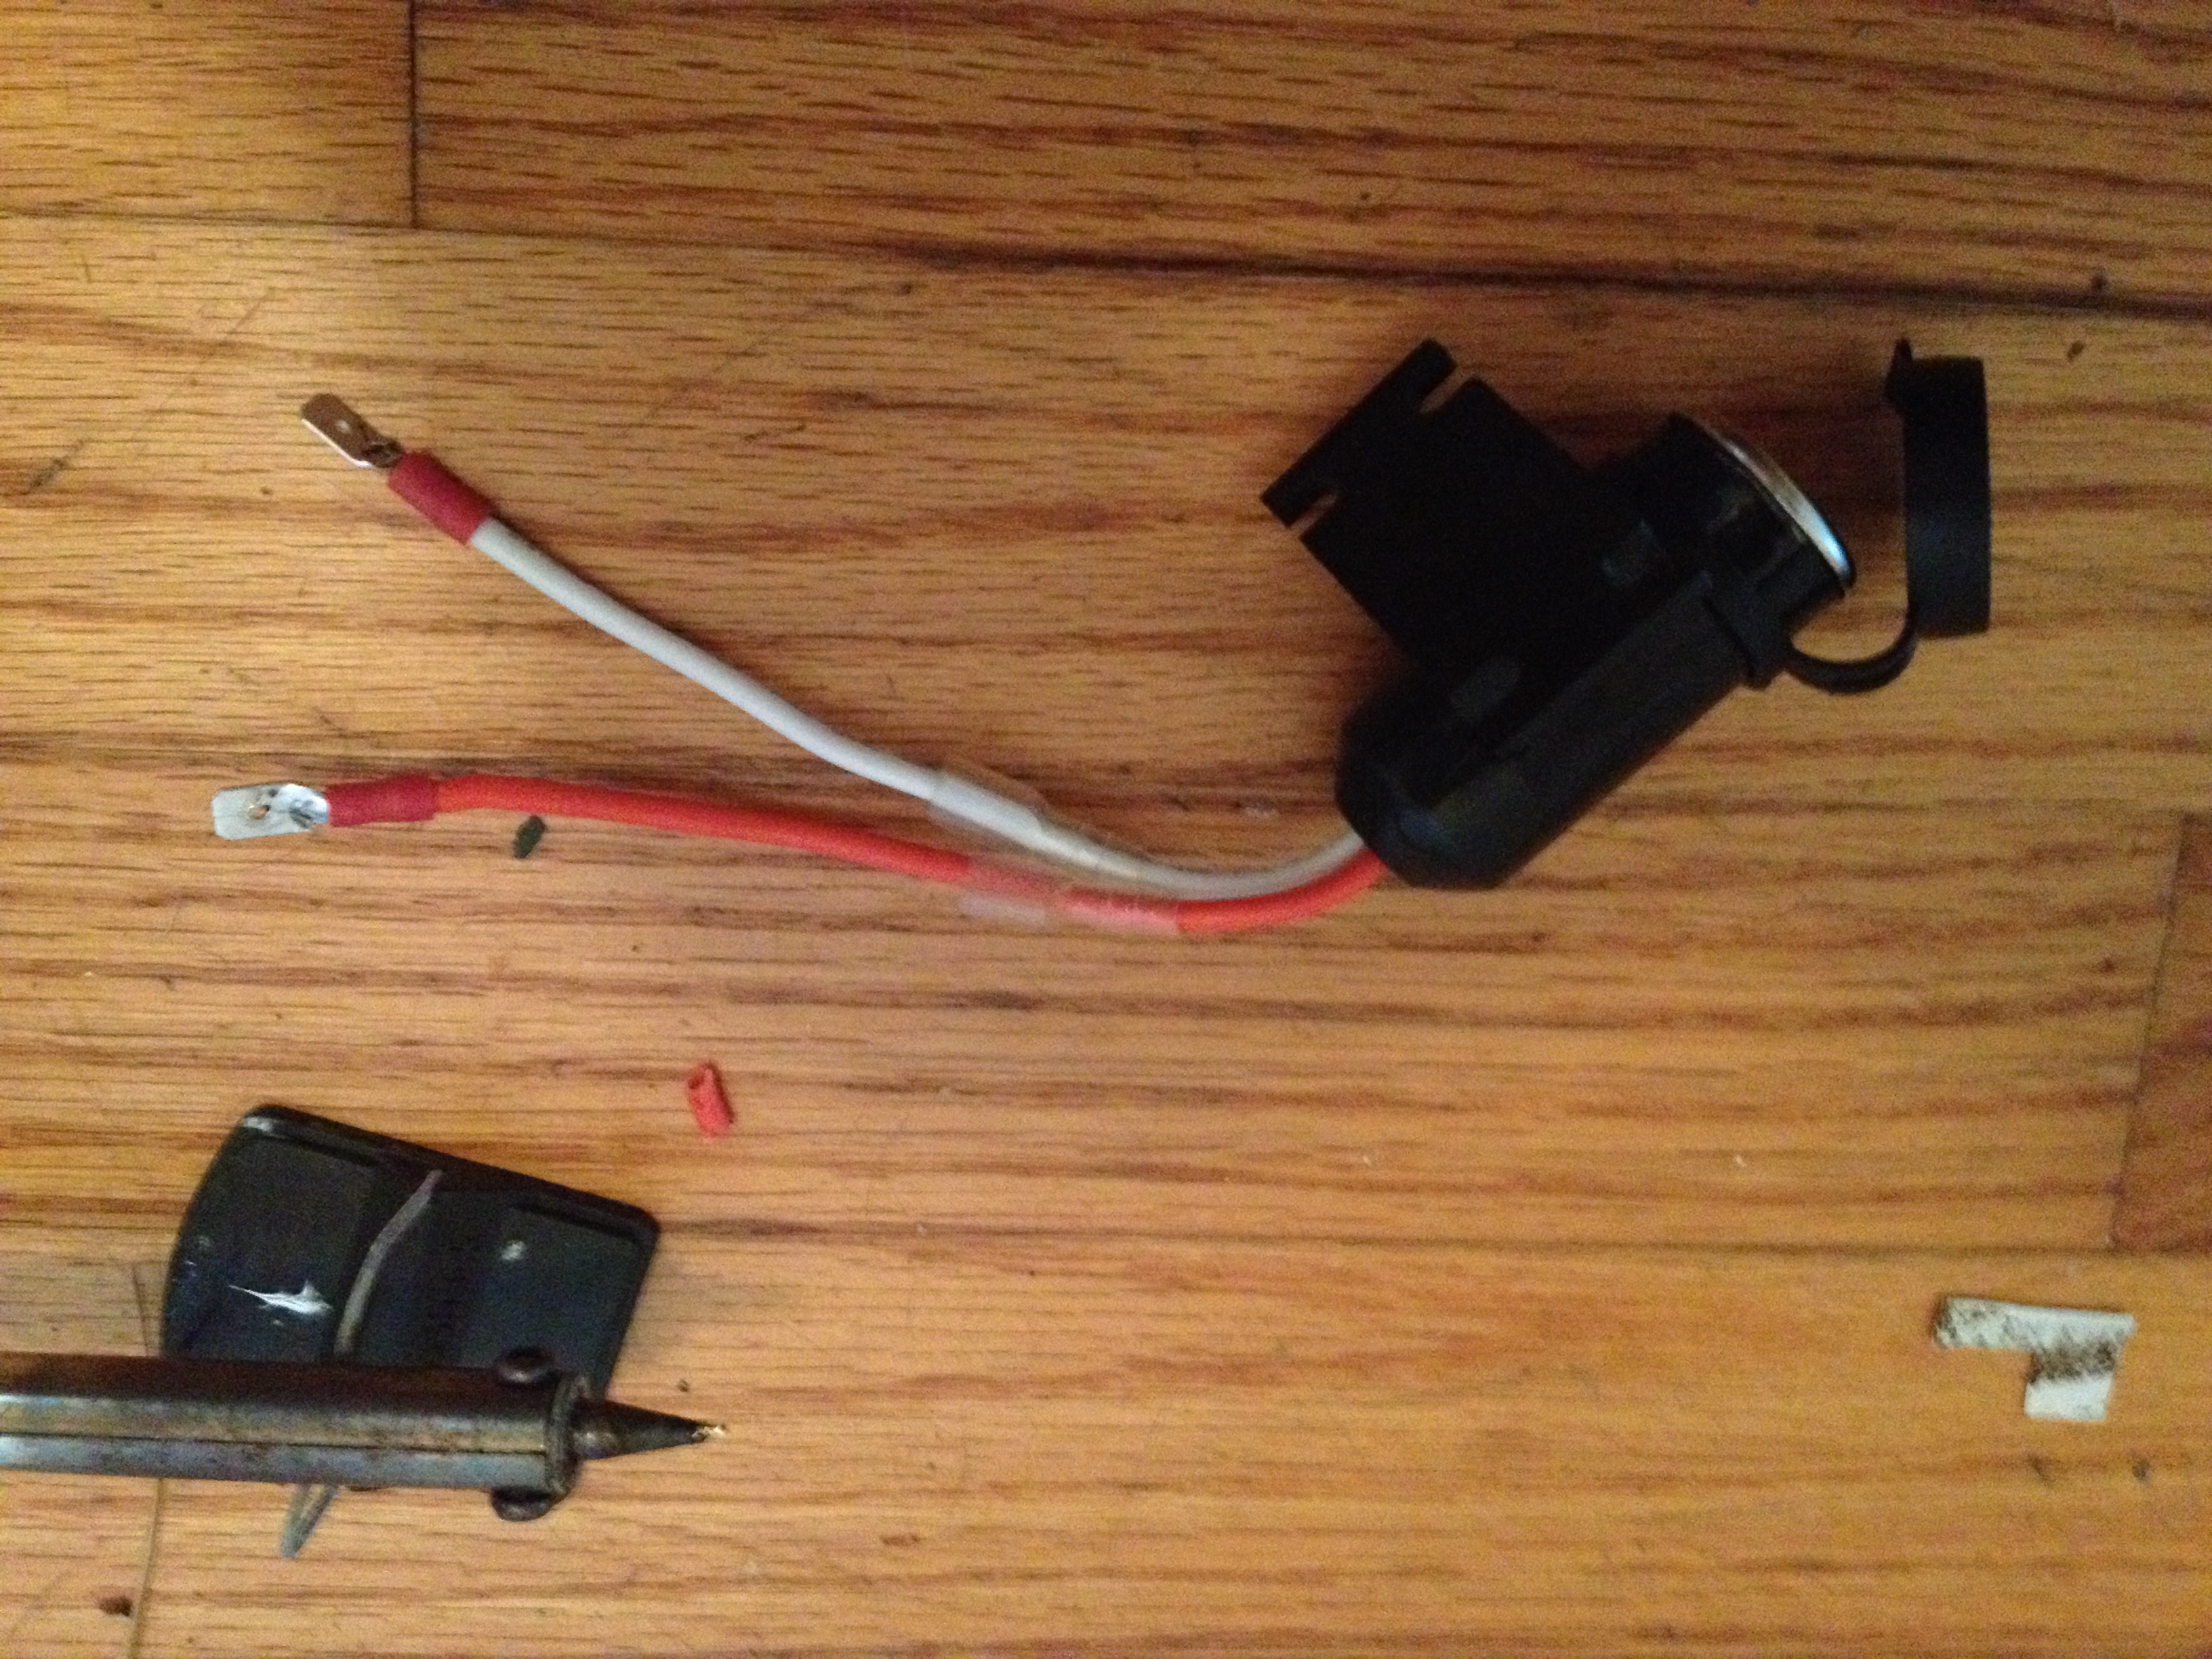
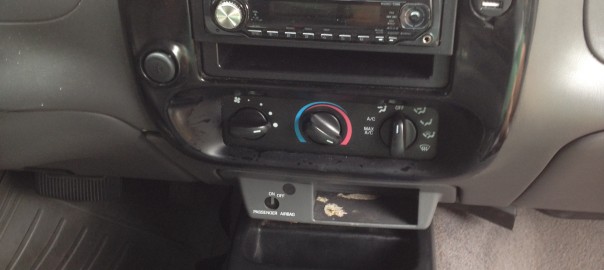
Now I can connect the old cigarette module back on when needed, which has a small 2 USB charger inserted.
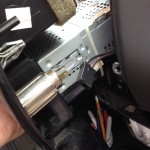
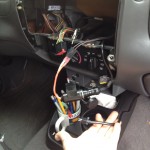
Next was to pack the new cigarette module behind the stereo and route the inverter cable down and under the console, under the cup-holder piece. I then drilled a small hole for the inverter cable in the cup-holder. At last, the inverter sits nicely in the cup-holder and not a wire to be seen! Sadly, this inverter draws .4 A when not in use (at 12 V thats 4.8 W that I don’t really want parasiting the truck’s battery. So I keep the inverter disconnected when not in use, and in the glove box. Hopefully this inverter will last a while…